
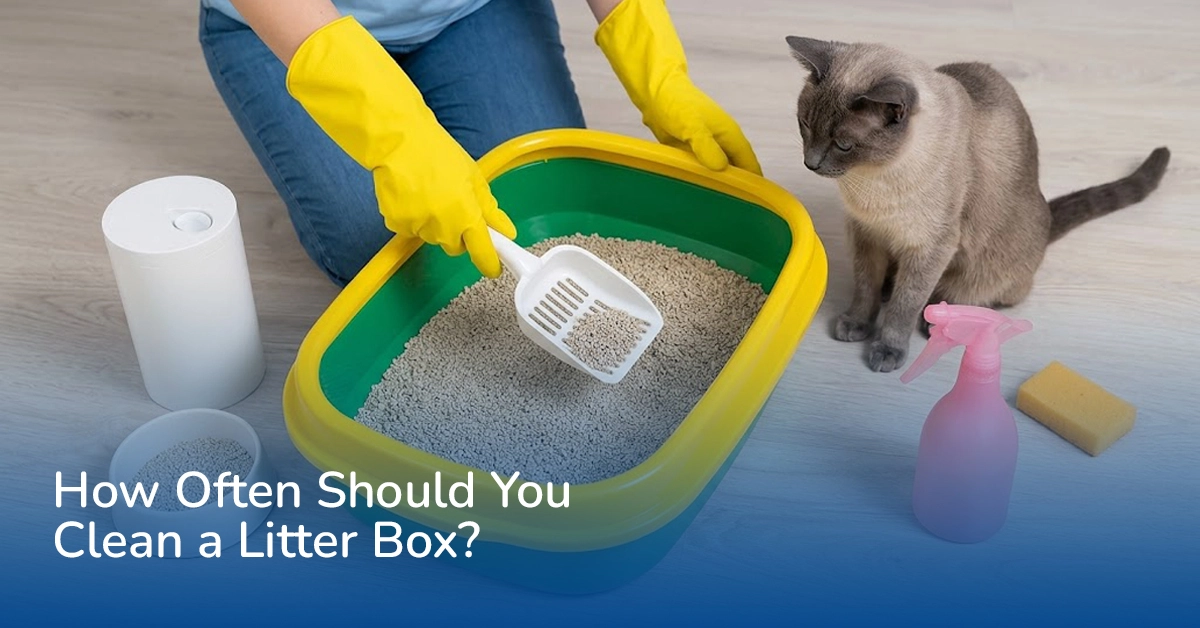
You should scoop your cat’s litter box at least once a day, and more frequently if multiple cats use it. The entire litter box should be washed during complete litter changes or whenever urine residue, visible dirt, or persistent odors develop.
However, how often to clean a litter box depends on more than the number of days since the last wash. The type of cat litter, number of cats, litter-box condition, and cleaning routine all influence how quickly the box becomes dirty.
Daily scooping removes waste, but it doesn’t necessarily remove urine residue, stuck litter, or dirt from the tray itself. That’s why a proper cleaning routine includes both everyday maintenance and occasional deep cleaning.
In this guide, we’ll explain when to scoop, how often to wash the entire box, which cleaning products to use, and how to keep your cat’s litter area clean without unnecessary work.
The easiest way to maintain a clean litter box is to divide cleaning into daily tasks and deeper cleaning when needed.
| Cleaning Task | Recommended Frequency | Why It Matters |
| Remove feces and urine clumps | At least once daily; more often when needed | Prevents waste buildup |
| Remove litter scattered outside the box | As needed, ideally during daily checks | Keeps the surrounding area clean |
| Spot-clean visible residue | As soon as practical | Prevents dirt from accumulating |
| Clean the litter scoop | Regularly and whenever visibly dirty | Removes stuck waste |
| Wash the entire litter box | During complete litter changes and whenever soiled | Removes urine residue and accumulated dirt |
| Clean the litter mat | When visibly dirty or contaminated | Removes tracked litter and waste |
| Inspect the tray for damage | During routine cleaning | Identifies cracks and difficult-to-clean surfaces |
There isn’t one washing schedule that suits every cat or litter product.
For example, a box using clumping litter may stay manageable through regular scooping, while a box using non-clumping litter may need more frequent emptying and washing because urine remains absorbed in the material.
Cleaning a litter box isn’t only about removing unpleasant smells. It also helps maintain a comfortable place for your cat to urinate, dig, and cover waste.
Every time your cat uses the litter box, urine or feces is deposited in the litter.
If waste isn’t removed regularly, contaminated material accumulates.
With clumping litter, urine forms removable clumps. With non-clumping litter, urine may remain absorbed in the granules until the litter is replaced.
Regular scooping helps remove waste before it builds up.
Litter-box odor can come from several sources:
Removing visible waste is the first step, but cleaning the tray and surrounding equipment may also be necessary.
Remember that fragrance is not the same as cleanliness. A strongly scented litter box can still contain dirty litter or urine residue.
Cats may become reluctant to use a box that is heavily soiled or uncomfortable.
However, cleanliness isn’t the only factor influencing litter-box behavior. Box size, location, litter texture, household stress, and medical conditions can also affect whether a cat uses the box.
If your cat suddenly starts urinating outside the litter box, don’t assume the problem is simply poor cleaning. Veterinary advice may be necessary, especially if you notice straining, pain, or changes in urination.
Removing waste and visible residue promptly can prevent material from drying onto the tray.
A consistent routine is usually easier than waiting until the box develops heavy buildup.
Daily maintenance and deep cleaning have different purposes.
Remove feces, urine clumps, and visible mess while keeping suitable litter in the tray.
Empty the box, wash the surfaces, rinse thoroughly, dry, and refill.
Daily cleaning should focus on removing waste and checking the condition of the litter.
A practical routine is to:
A suitable litter scoop makes it easier to separate waste from loose litter.
Deep cleaning involves washing the tray itself.
This is usually done when the remaining litter is completely replaced, or earlier if the box becomes visibly dirty.
During deep cleaning, pay particular attention to:
The goal is to remove accumulated residue, not simply cover the smell with a scented product.
Cleaning the entire box doesn’t have to be complicated. The most important steps are removing used litter, washing the tray, rinsing away cleaning products, and allowing it to dry before refilling.
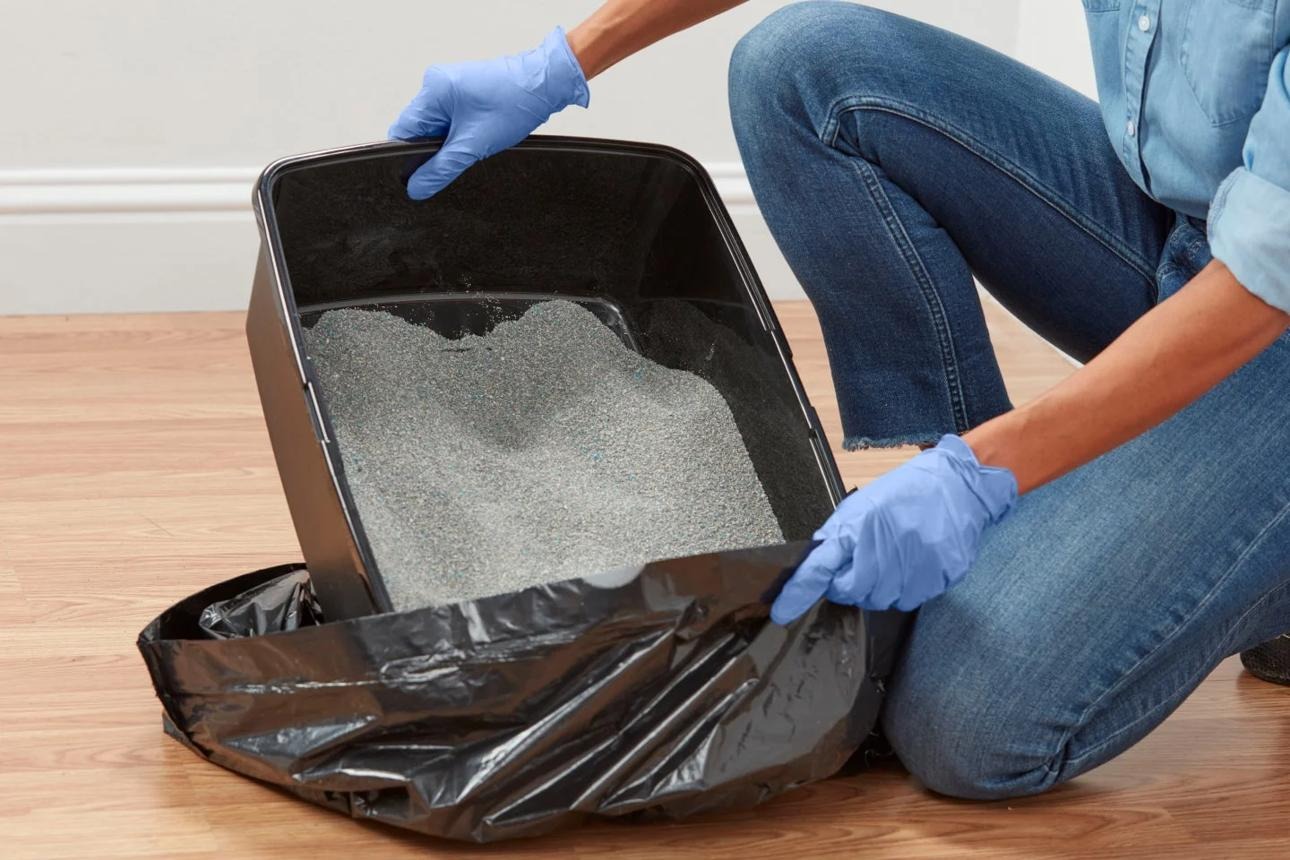
Empty the remaining litter into a suitable waste bag. Dispose of it according to local waste guidance. Do not assume cat litter can be flushed down the toilet.
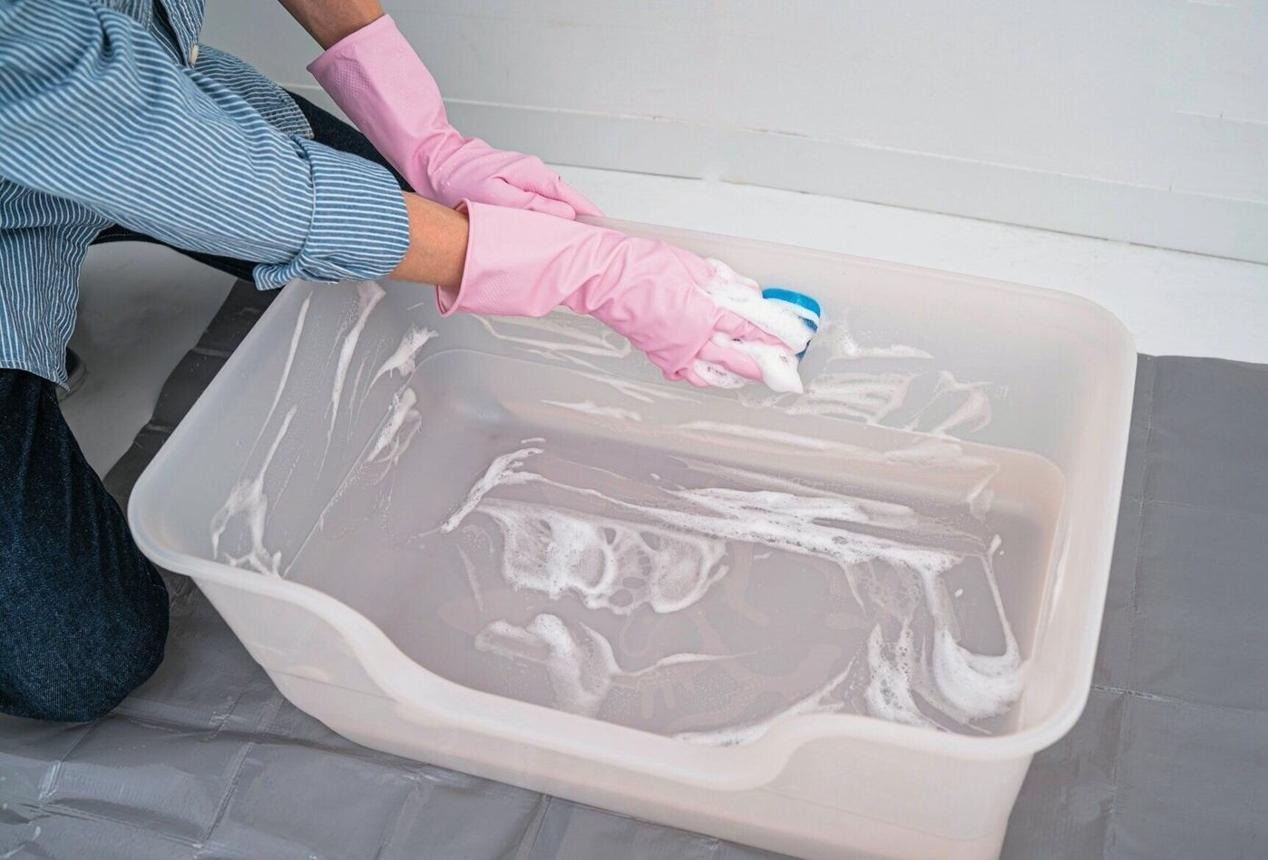
Use warm water and a suitable mild, preferably unscented cleaner. Clean the bottom, sides, and corners where waste residue may have accumulated.
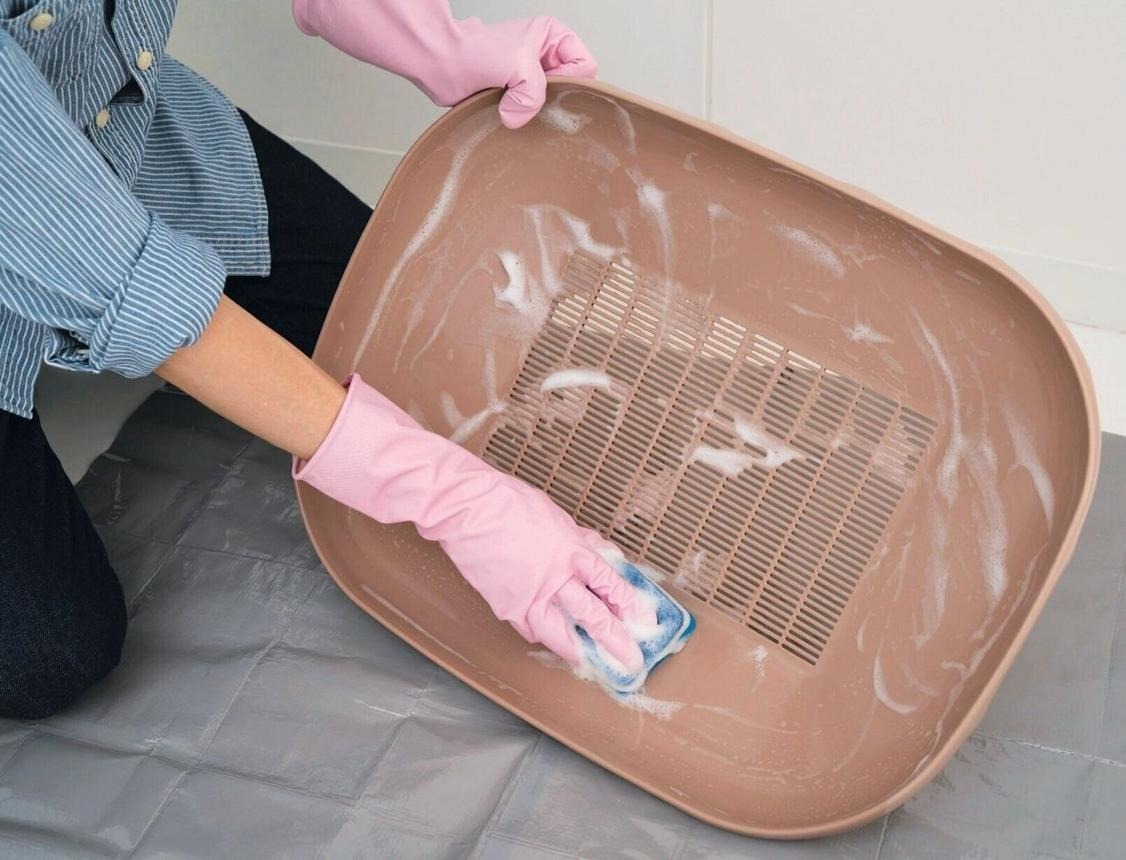
Soften stubborn residue with water and gently remove it using a soft sponge or suitable brush. Avoid tools that could deeply scratch the plastic.
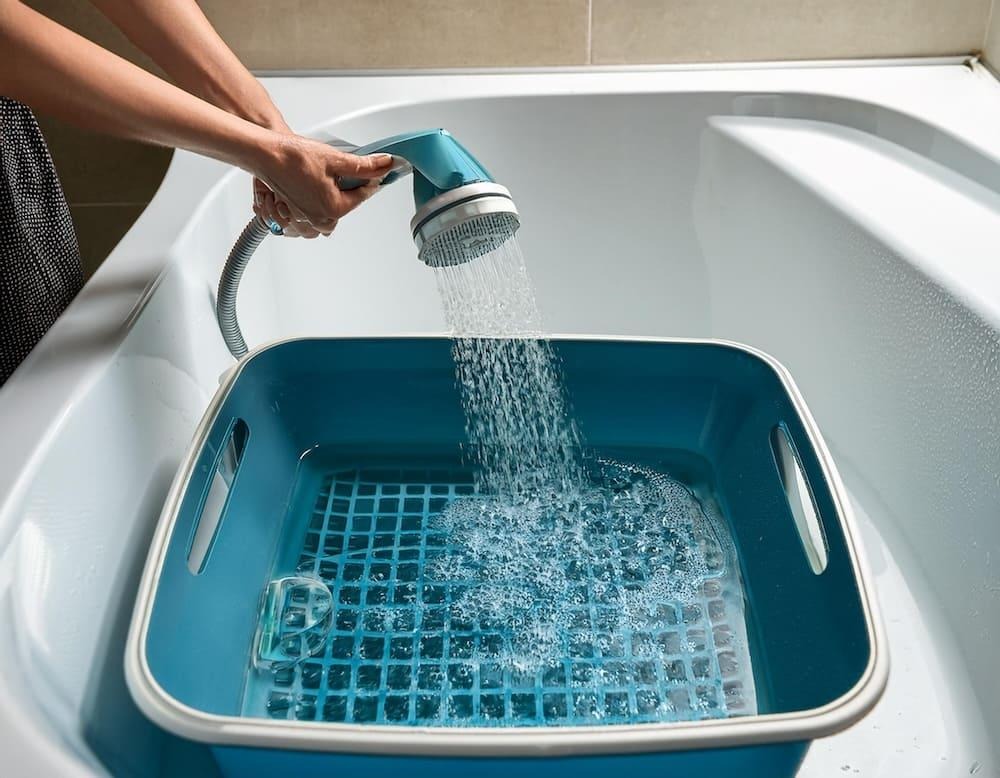
Remove all cleaning-product residue. A cleaner that leaves a strong scent or residue may make the box less comfortable for your cat.
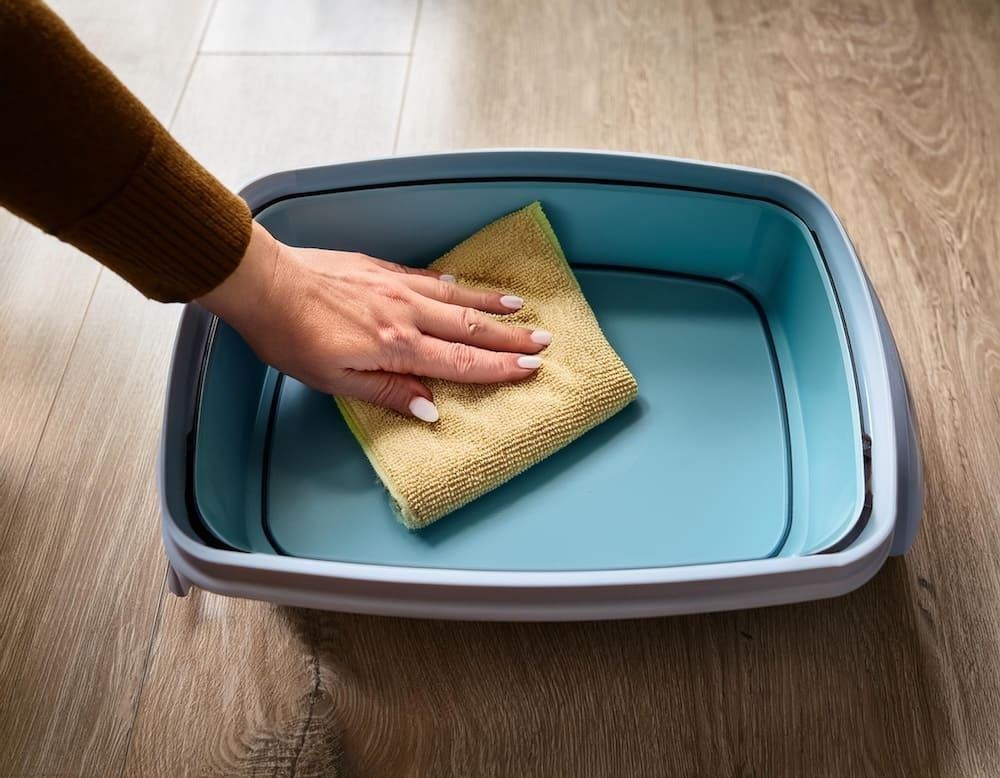
Let the tray dry completely before adding litter. Moisture left in the box can cause some litter products to clump or stick prematurely.
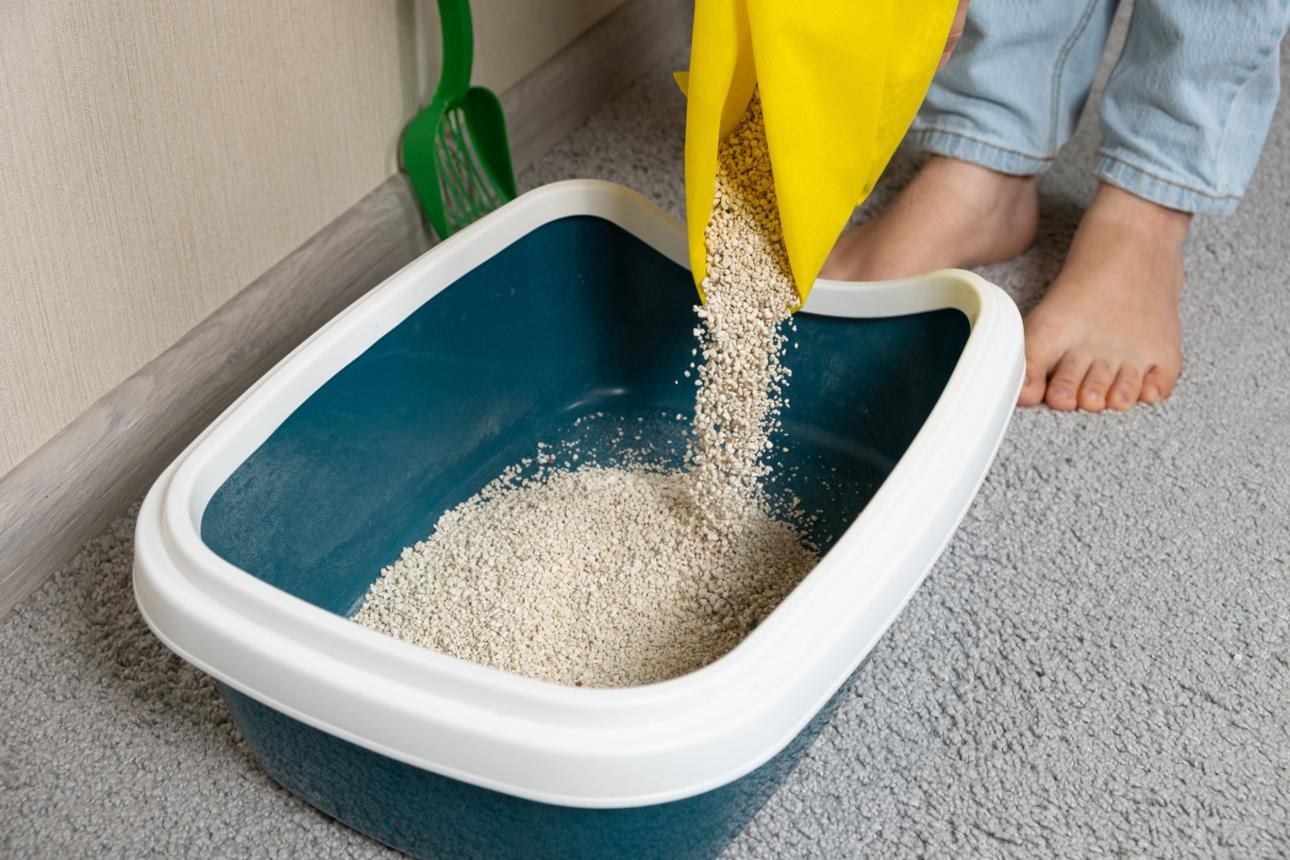
Add litter to the depth recommended by the manufacturer. For many conventional clumping litters, approximately 2–3 inches (5–7.5 cm) is a practical starting point.
After cleaning, wash your hands thoroughly. Keep cats away from the cleaning area until the tray is rinsed, dry, and ready to use.
The best cleaning product is one that removes dirt and residue without leaving potentially irritating chemicals or strong fragrances behind.
For routine washing, warm water and a suitable mild, unscented dish soap are often sufficient.
Use a soft sponge or brush, rinse thoroughly, and allow the tray to dry.
The aim is to remove physical contamination from the surface.
Bleach requires particular caution.
Never mix bleach with ammonia, urine residue, vinegar, or other cleaning products. Dangerous gases can form.
For ordinary litter-box maintenance, mild soap and water are generally the simpler choice.
If disinfection is specifically required, use a product appropriate for the surface and situation, following its label and veterinary guidance. Cleaning and disinfection are not interchangeable.
Vinegar is sometimes used for household cleaning, but it should not be treated as a universal disinfectant.
Its smell may also be unpleasant to some cats.
If using a cleaning product, prioritize suitability for the tray material, effective rinsing, and your cat’s comfort.
Never combine vinegar with bleach.
Strongly fragranced products aren’t necessary for routine litter-box cleaning.
Avoid adding essential oils or concentrated fragrances to the litter box. Some substances may be unsuitable or harmful to cats, particularly when they come into contact with paws, fur, or surfaces that cats may lick.
A clean tray should not need a strong perfume to smell acceptable.
Deep cleaning means completely emptying and washing the tray.
The appropriate frequency depends on the litter system, box usage, and actual condition.
For example:
You should also wash the box sooner if you notice:
Don’t wait for a specific date if the tray is already dirty.
For more detail on when to discard the litter material itself, see our guide to how often you should change cat litter.
A multi-cat household usually needs more frequent litter-box attention because more waste accumulates.
However, the number of cats isn’t the only factor. The number of available boxes also matters.
A commonly recommended starting point is one litter box per cat plus one additional box, adjusted for your cats’ needs and household layout.
| Household | Suggested Cleaning Approach |
| One cat | Scoop at least daily and wash when the litter is fully changed or the tray is soiled |
| Two cats | Check boxes frequently and increase scooping when necessary |
| Three or more cats | Distribute boxes appropriately and monitor each box closely |
| Several cats using one box heavily | Remove waste more often and check for residue or saturation |
More Cats → More Waste → Greater Cleaning Demand
Adding more litter to a single box doesn’t replace providing enough boxes or cleaning them regularly.
For multi-cat litter selection, explore our guide to the best cat litter for multiple cats.
Yes. Different litter materials change how waste is absorbed, removed, and retained.
Clumping litter absorbs urine and forms removable clumps.
This makes daily scooping more convenient because much of the urine-soiled material can be removed without discarding the entire litter layer.
However, clumps may stick to the bottom if the litter is too shallow or the formulation absorbs moisture slowly.
Regular scooping and maintaining the appropriate depth can help.
You can learn more about the benefits of clumping cat litter.
Non-clumping litter absorbs urine without forming the same removable clumps.
Because urine-soiled material remains in the box, the litter may need complete replacement more frequently.
The tray should be washed during those changes.
Crystal litter has different absorption characteristics from conventional clay.
Follow the product’s cleaning and replacement instructions, especially if the manufacturer recommends stirring or redistributing the material.
Plant-based products differ in their clumping ability, texture, and moisture handling.
A clumping tofu litter may have a different maintenance routine from a non-clumping wood or paper product.
Choose the cleaning process according to the individual formulation.
Stuck litter is one of the most frustrating litter-box cleaning problems.
It often occurs when urine reaches the tray before being fully absorbed or when wet clumps adhere to the surface.
Possible causes include:
Start by removing loose litter.
Then:
Avoid scraping aggressively with sharp metal tools because scratches can make future cleaning more difficult.
Maintain the litter depth recommended for your product.
For many conventional clumping litters, around 2–3 inches is a useful starting point.
If sticking continues despite an appropriate depth, consider whether the litter’s clumping performance is suitable for your cat’s usage.
A clean tray is only one part of a hygienic litter-box area.
Waste and litter particles can also collect on the equipment around it.
A scoop may develop stuck urine clumps or fecal residue.
Clean it regularly and whenever visibly dirty using an appropriate cleaner. Rinse and dry it before storing.
Litter mats collect particles tracked outside the box.
Shake or empty loose litter as appropriate, then clean the mat according to its material and manufacturer’s instructions.
If the mat becomes contaminated with urine or feces, clean it promptly.
Sweep or vacuum loose litter as appropriate for the surface, and clean spills promptly.
For Karachi homes where litter boxes may be kept in bathrooms, utility areas, or indoor corners, choose a location that is accessible to your cat and easy to maintain.
Good ventilation can also help prevent odors from becoming concentrated.
If a litter box smells unpleasant even after scooping or washing, investigate the source rather than simply adding fragrance.
| Possible Problem | Why It Happens | What to Check |
| Contaminated litter remains | Urine-soiled material wasn’t fully removed | Litter condition |
| Residue on the tray | Waste has accumulated on the plastic | Corners, base, and seams |
| Dirty scoop | Waste remains on the cleaning tool | Scoop surface |
| Contaminated litter mat | Urine or waste has reached the mat | Mat cleaning |
| Scratched or damaged tray | Residue may remain in damaged areas | Box condition |
| Poor ventilation | Odors become more noticeable | Litter-box location |
| Heavy box usage | Waste accumulates quickly | Number of cats and cleaning frequency |
A stronger-smelling litter won’t necessarily solve these problems.
Both scented cat litter and unscented cat litter require appropriate waste removal and cleaning.
Litter boxes aren’t always permanent household equipment.
Over time, a plastic tray may develop scratches, cracks, damaged edges, or areas that become difficult to clean.
Consider replacing the box if:
However, odor alone doesn’t always mean the tray must be replaced.
First check the litter condition, cleaning process, scoop, mat, and surrounding area.
If you need a replacement, explore available litter boxes and compare size, accessibility, side height, and ease of cleaning.
Waste should be removed regularly, not only when the smell becomes noticeable.
Topping up restores the litter level but doesn’t remove residue from the plastic.
A powerful fragrance doesn’t guarantee better cleaning. Strong products can leave residues or odors your cat dislikes.
Cleaning-product residue should be thoroughly removed before the box is refilled.
Moisture can cause some litter materials to stick or clump before the cat uses them.
These items can also collect waste and contribute to unpleasant smells.
A heavily used multi-cat litter box may need more frequent attention than a box used by one cat.
Insufficient depth can contribute to urine reaching the bottom and forming stuck clumps.
Deep scratches and cracks can make effective cleaning difficult.
A few practical habits can make litter-box maintenance more manageable.
The litter should handle moisture effectively for your cat’s needs.
Clumping performance, dust, tracking, and texture are also worth considering.
Avoid underfilling or unnecessarily overfilling the tray.
Regular waste removal helps reduce buildup.
A scoop that separates loose litter from waste can make everyday cleaning easier.
Look for a box with accessible corners, sufficient space, and surfaces that can be washed thoroughly.
Remove tracked litter and clean spills before residue accumulates.
Look for scratches, stuck litter, persistent odor, and other signs that deeper cleaning is needed.
The goal is not to avoid washing the litter box. It’s to make routine maintenance easier while keeping the area comfortable for your cat.
When buying litter-box products in Pakistan, consider the cleaning routine you’ll need to maintain them.
| Feature | Why It Matters |
| Absorption | Helps manage urine moisture |
| Clumping strength | Affects how easily soiled material can be removed |
| Dust level | Influences mess during pouring and digging |
| Tracking | Affects cleaning around the box |
| Granule size | Can influence scattering and cat preference |
| Pack size | Determines how much litter is available for refills |
| Cost per use | Helps assess ongoing value |
Choose a tray that provides:
Both imported and locally manufactured litter can be compared using the same criteria.
Don’t assume a product is easier to clean simply because it is imported or more expensive.
Instead, assess its material, clumping behavior, absorption, and suitability for your cat.
For cat owners in Karachi, Purr Pet Food offers a selection of cat litter, litter boxes, and accessories to compare according to your household’s cleaning needs.
Knowing how often to clean a litter box makes it easier to maintain a comfortable, hygienic space for your cat.
The most important distinction is between daily waste removal and full tray washing.
Daily Scooping → Spot Cleaning → Full Litter Change → Washing → Rinsing → Drying → Refilling
For most households, scooping at least once daily is the foundation of a good routine. Full washing should happen during complete litter changes and whenever the tray develops residue, visible dirt, or persistent odor.
Choosing suitable litter, maintaining the right depth, and keeping the scoop and surrounding area clean can also make everyday maintenance easier.